Okay, this is supposed to be a pottery blog, but since some of my long lost friends have found me here, and they wanted to know what I look like now — so here are a few reasonably current photos. In keeping with the pottery theme, though, these are all from a soda firing at Pottery Northwest two months ago — so you’ll also get to see the kiln and the process of how my soda-fired pieces were fired.

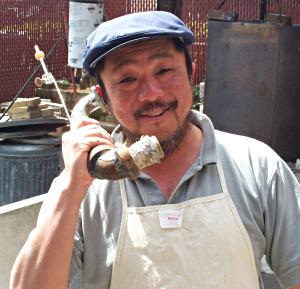
A typical firing cycle is 12 – 13 hours long. We usually start at 8 am, and the whole thing will hopefully be done by 9 pm. We are not busy all the time, though. In fact, most of the time is waiting time — so we get to goof around, like pretending to be talking on a home made phone (figure 1). The phone was the invention of fellow firing crew member Jenny Nelson, who managed to keep herself busy and creative while waiting for the kiln temperature to rise during the early part of the firing.

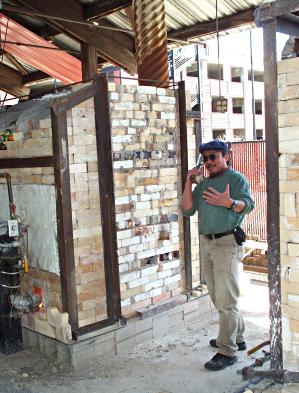
Here is a picture (figure 2) of the new soda kiln at Pottery Northwest — okay, it doesn’t look new, because the bricks used to brick up the door are old and ratty looking; but, as you can see, the bricks to the left of the door and on the burner side are all new and clean. Anyway, it’s a cross-draft kiln, with 2 forced air burners (you can see one of them in the photo above) on the left, and the chimney on the right. Note all cross-draft kilns are also down-draft kilns by definition.

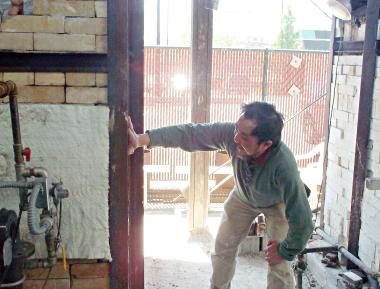
For a variety of technical reasons, the temperature of the kiln must be brought up very slowly in the beginning of the firing. We typically spend the morning slowly turning up the gas, e.g. up just a notch every half hour or so. In the early stages the kiln is cool enough to touch — and we sometime use our hands to feel all around the kiln (figure 3) and see if it is warming up evenly.

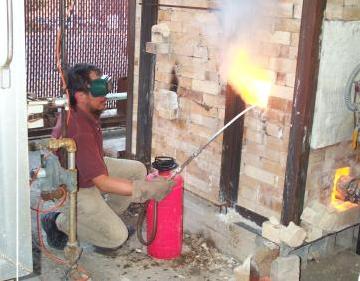
The process of firing the soda kiln is pretty much the same as firing a regular gas kiln, except for the last step of putting the soda in. There are different ways of adding soda, but for our soda class at Pottery Northwest we usually — but not always — spray (figure 4) a soda carbonate solution into the kiln at about cone 6.
If you want to know more about soda firing, Emily Murphy has a good write-up on the history and process of soda firing, and the Gail Nichols article in Ceramics Monthly is a must-read as well. You may also want to check out the group blog by the Summer 2006 Independent Study Group at Pottery Northwest –which includes this video of their soda spraying process that I have contributed.