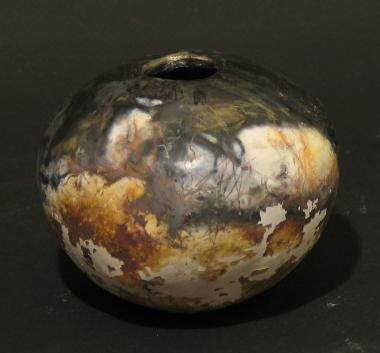
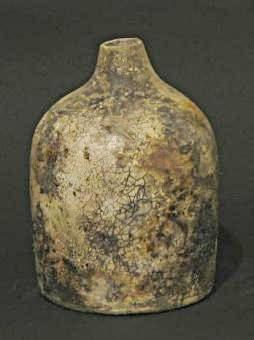
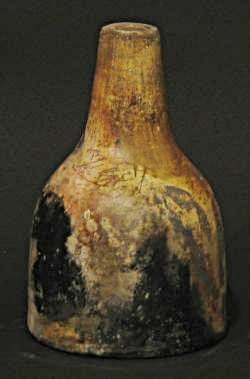
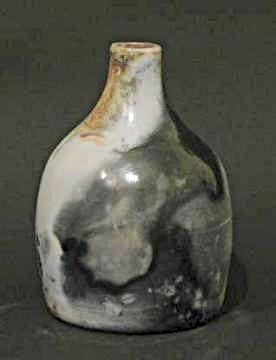
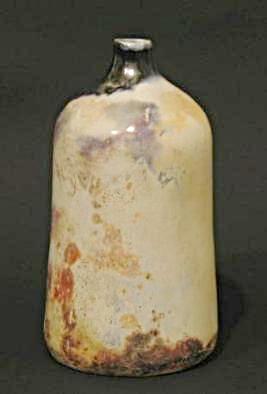
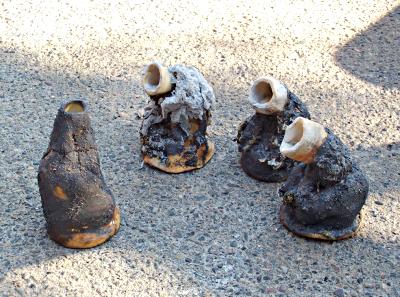
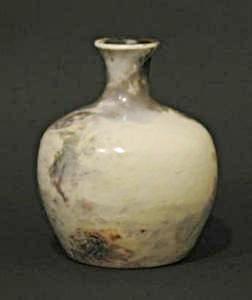
A couple weeks ago I was invited to lead a pit firing at Lin Holley‘s place on Vashon Island near Seattle. It was the first time I was put in charge of a pit fire with a group of experienced potters who nevertheless were pit fire newbies, and I worried beforehand that the firing would not turn out well enough, the pots would not pick up colors, and the participants would be so disappointed that they would never pit fire again. So I studied my notes and videos from previous firings carefully, and came up with a relatively conservative firing strategy that I hoped would maximize the chances for getting strong colors onto the pots. Luckily for me and for the others as well, the strategy worked, and everybody seemed very happy with the results (figure 1).
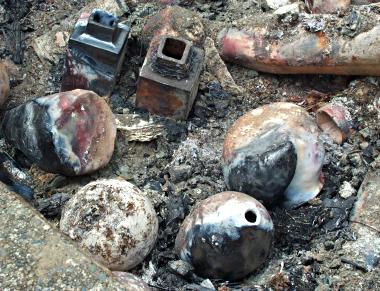
N.B. if you have done pit firing, or if you have read my post on a previous firing, you’d know that the colorful pots in figure 1 above had already been handled before the picture was taken. The telltale sign is the jet black area on each pot — these should be on the side that’s still buried in the embers and thus invisible to us at this point.
All in all, I was very happy with this firing, and I thought it had served its main purpose well, i.e. as an introductory firing for first timers. It was done quickly, less than 6 hours from lighting the fire to taking the last pot out; it generated very little smoke; it resulted in just one broken pot and one slightly damaged one out of a total of 20 or so; and it got strong, dramatic colors on most pots. Below I’ll document the timeline and the process of this firing, so I’d know how to repeat it the next time, and hopefully you can use this as a reference for your own firing as well.
