When I first started this blog four years ago, I had a very simple goal — to share my then developing pit/smoke firing know-how with others, one discovery at a time.
Now, four years later, I have managed to file quite a few posts with enough pragmatic details for others to use as reference, or even as a starter framework for their own pit firing experiments.
One thing has not changed much, though. My firing approach remains very specific to a rather personal obsession, a mad scientist-like urge to understand how different fuming effects can be arrived at with any given fuming material or firing process.
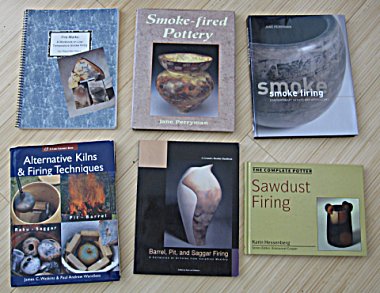
figure 1: books on pit/smoke firing
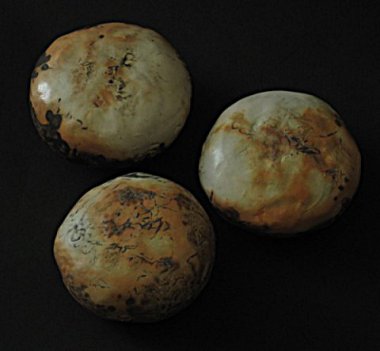
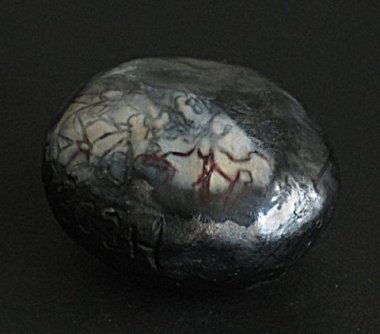
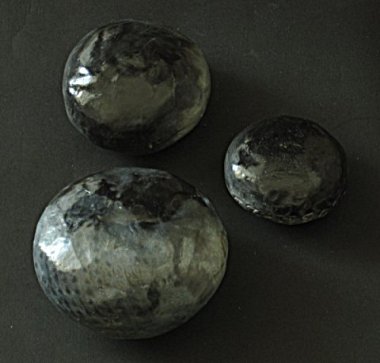
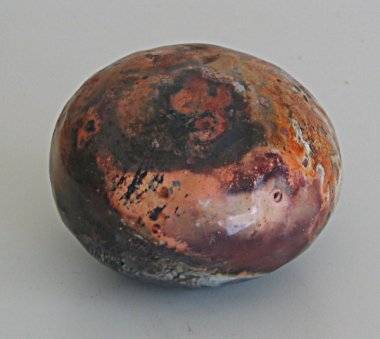
To that end, my emphasis is on achieving a broad range of surface colors and effects; and it’s no coincidence that the primary form I’ve chosen for these experiment is a simple, anonymous, and unassuming river rock form — which essentially serves as a neutral canvas to receive fuming marks, and which will not call attention to itself and distract the viewer’s focus from those fuming effects.
Read the rest of this entry »